
By Tracey Delaney · 23 October 2026
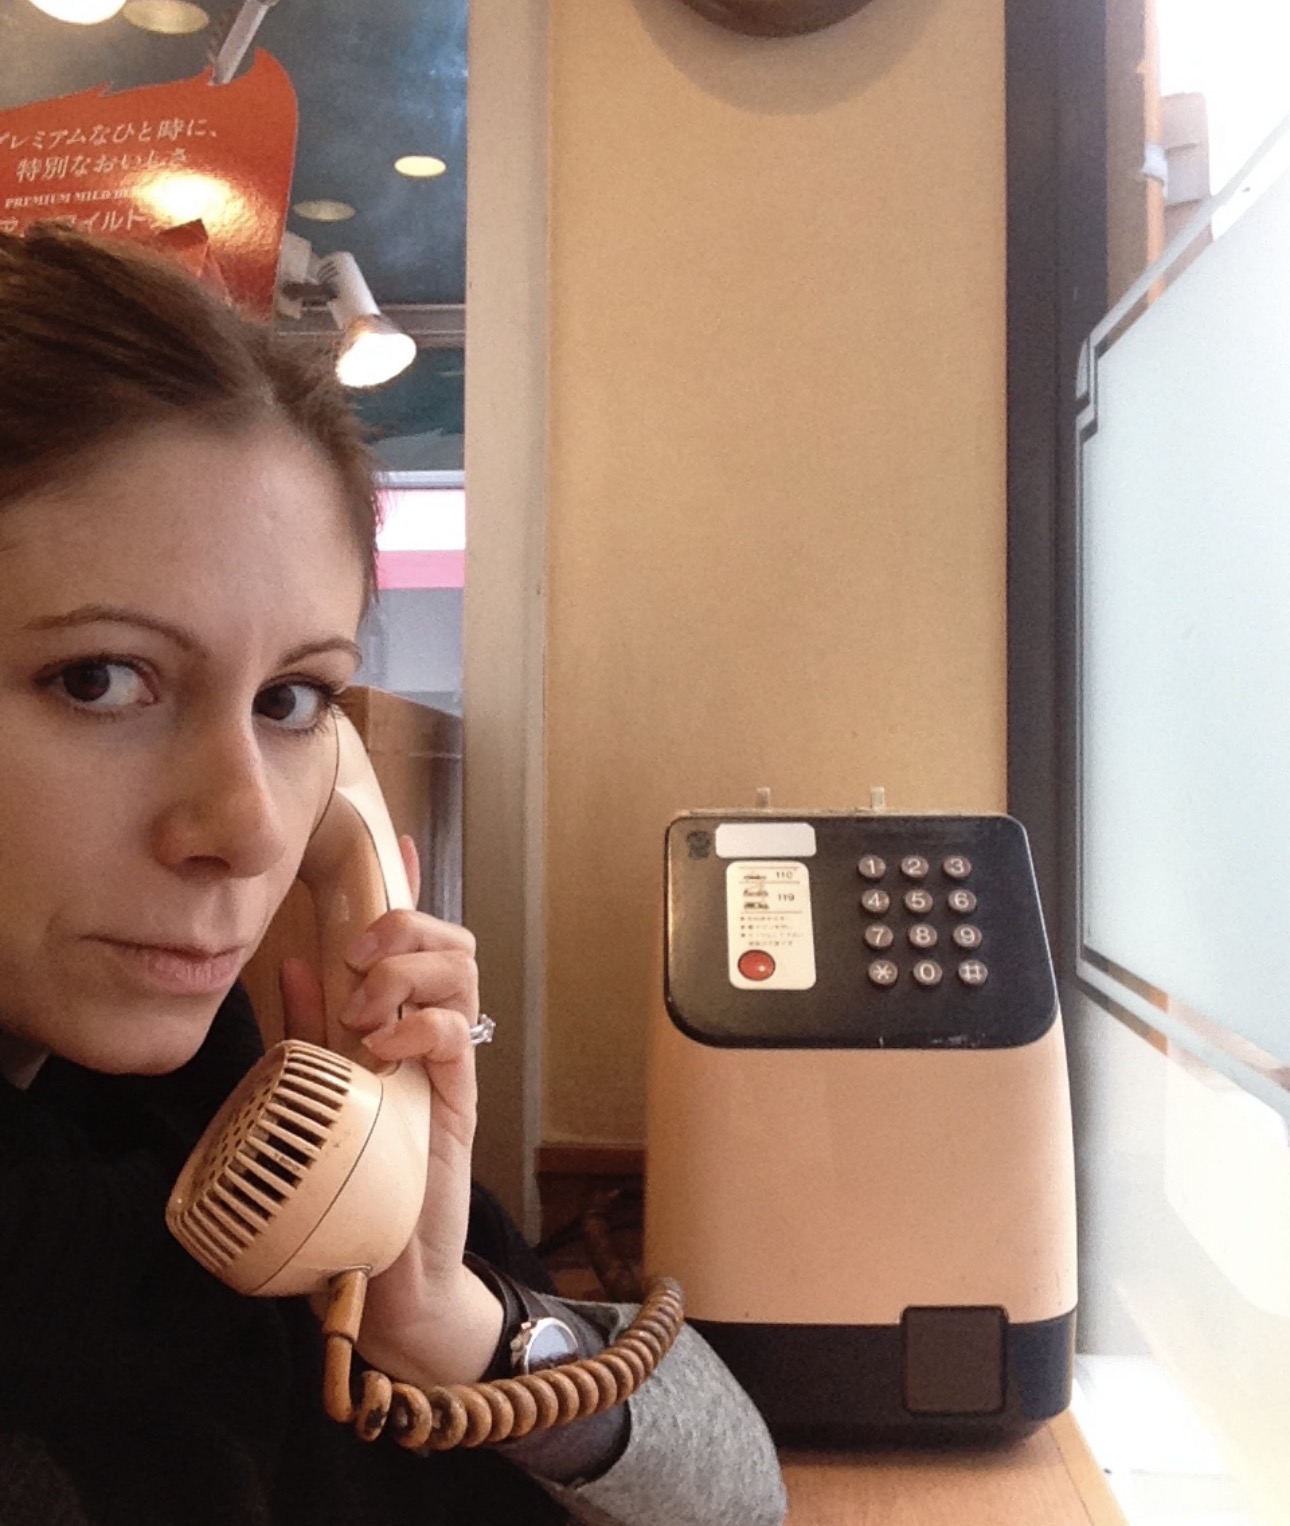
Don’t count on wifi
Japan is one of the most connected countries on earth, and yet the café you’re sitting in probably doesn’t have wifi for you. Restaurants, izakaya, small hotels, regional stations: free wifi is far from ubiquitous, and where it exists it often wants a registration page in Japanese first. I lived there six years and still wouldn’t plan a day around finding it.
So for our September trip (Tokyo, then Toyama and Himi on the Sea of Japan, Fukui, Amanohashidate, Matsue, Hagi, Nagato Yumoto and Hiroshima) I did what I always do: bought an eSIM before leaving Bordeaux, installed it on the sofa, and switched it on at Haneda. This is what I used, what I deliberately didn’t buy, and the one part of the process that could be smoother.
What I bought
Mobal’s Japan Tourist eSIM, 16 days, 50GB, ¥5,170 all in (about €29 / US$34), running on the DoCoMo network. Installed on an unlocked iPhone alongside my French line, which stayed on for calls and texts with data roaming off.
- Provider: Mobal
- Plan: Japan Tourist eSIM, 16 days, 50GB
- Network: DoCoMo
- Price: ¥5,170 (≈ €29 / US$34), tax included, no shipping
- Phone: Unlocked iPhone, eSIM as second line
- Japanese number: No (data only)
Fifty gigabytes over sixteen days is more than I used, even with maps running all day, much multimedia and cloud backups and the occasional tethering. I never got near the cap.
Why I skipped the unlimited plan
Mobal also sells an unlimited tourist plan for roughly the same money. I didn’t take it, because it runs on SoftBank, and SoftBank is not the network I want in the places we were going.
The three Japanese carriers are not equal once you leave the cities. DoCoMo was the old state carrier and still has the densest rural coverage: coastal Toyama, the Shimane and Yamaguchi backroads. SoftBank is excellent in Tokyo and Osaka and noticeably thinner in exactly the kind of country we’d booked. Our route had more onsen towns and fishing villages than cities, so the network mattered more than the data cap.
The lesson, if you’re planning anything beyond the Golden Route: check which Japanese carrier sits behind the eSIM before you look at the price. Providers don’t always say it loudly.
My rule: buy a fixed allowance, not “unlimited”
I rarely buy unlimited data plans anywhere, and Japan is the clearest case for why.
- “Unlimited” usually isn’t. Most Japanese tourist plans give you a daily full-speed allowance, often 1GB to 3GB, then throttle you to a crawl until midnight. Hit it at 4pm trying to download offline maps and you’ll feel it.
- Unlimited plans tend to sit on whichever network the reseller got cheapest, which is how you end up on SoftBank in rural Shimane.
- Fixed plans are plentiful and generous. 20, 30, 50GB over two weeks is far more than most travellers use, and the speed holds.
- Service on the fixed plans is, in my experience, simply better. Fewer restrictions on tethering, no day-boundary games.
If you genuinely stream video every evening or work full days on a tethered laptop, unlimited can make sense. For everyone else, a big fixed bucket on DoCoMo is the better buy.
Setting it up: honest assessment
The Mobal process works, but it is clunkier than the one-tap eSIMs from the global apps. Expect a handful of separate steps, each on its own page, and a short list of tasks to complete before the QR code appears.
- Order online. Choose eSIM, plan length and data; pay by card. Confirmation lands by email.
- Complete the activation tasks. Mobal sends a link to a short set of inputs (device details, start date and so on). It’s not hard, but it isn’t instant, and it’s easy to assume you’re done when you aren’t. Do it at home with a good connection, not at the airport.
- Install the eSIM. Scan the QR code on the iPhone (Settings → Mobile Data → Add eSIM), label it “Japan”, and leave it switched off.
- On landing. Turn the Japan line on, set it as the default for mobile data, and keep data roaming off on your home line. DoCoMo picked up within a minute at Haneda.
Two tips: install before you fly so you aren’t scanning a QR code off a laptop screen in arrivals, and screenshot the confirmation page, because the emails are not always easy to find again.
How it held up on the road
It held up everywhere we went, which is the whole point. Everywhere we stayed, from a machiya with thick old walls in Himi to hotel towers in Tokyo and Hiroshima to inns lost in the middle of nowhere, the signal was strong. The same across the roads, the routes and the rails: the Hokuriku Shinkansen to Toyama, the coast road past Amanohashidate, the drive down through Fukui.
The real test was the west: Matsue and the onsen at Tamatsukuri, the Hagi backstreets, and Nagato Yumoto, a small hot-spring town in a valley. Strong signal in all of them, on DoCoMo, with no thinking about it.
I can’t tell you SoftBank would have failed on the same route. I can tell you I didn’t have to think about it once, and that is what I was paying for.
What to buy
- Tokyo, Kyoto, Osaka only: Any DoCoMo or SoftBank eSIM; price and convenience decide
- Anywhere rural, coastal or in the mountains: A DoCoMo-network eSIM, fixed data (20–50GB)
- Two weeks, maps and messaging: 20–30GB is plenty; 50GB if you tether
- Working remotely, heavy video: A true unlimited plan, but check the daily cap
- Need a Japanese phone number: Mobal’s voice + data plan; expect ID checks
Let us guide you on all of the practical admin as well as all the inspiration for your Japan trip. Enquire here.
Prices and plans as of October 2026. I paid for the eSIM myself; no affiliate relationship with Mobal.